OpenAI has changed from DALL-E to native image generation with ChatGPT 4o, and that is great news for us low content product creators.
One of the biggest issues with AI image generators has been how to tweak something to make it better without it completely changing the image to something brand new, and this solves that problem.
If you haven’t seen it action yet, prepare to be amazed!
You no longer are starting over with each new request, you are continuing the conversation, like you are already doing with your written chats, and that is what really makes this a game changer.
Getting Started with Image Generation in ChatGPT 4o
You do have access to this feature whether you have the free or paid version.
Ideally you will want to work on your desktop for image creation.
To get started, you want to open the page in your browser, and start a new chat.
Here’s a sample prompt for your to try out:
“Create an image of a young woman with red hair in a ponytail, working on a laptop in her sunny home office. She is happy and there is a soft light in the room. She has her laptop open and is typing on it and a coffee mug is on her desk with some other home office decor surrounding her.”
This is my result:
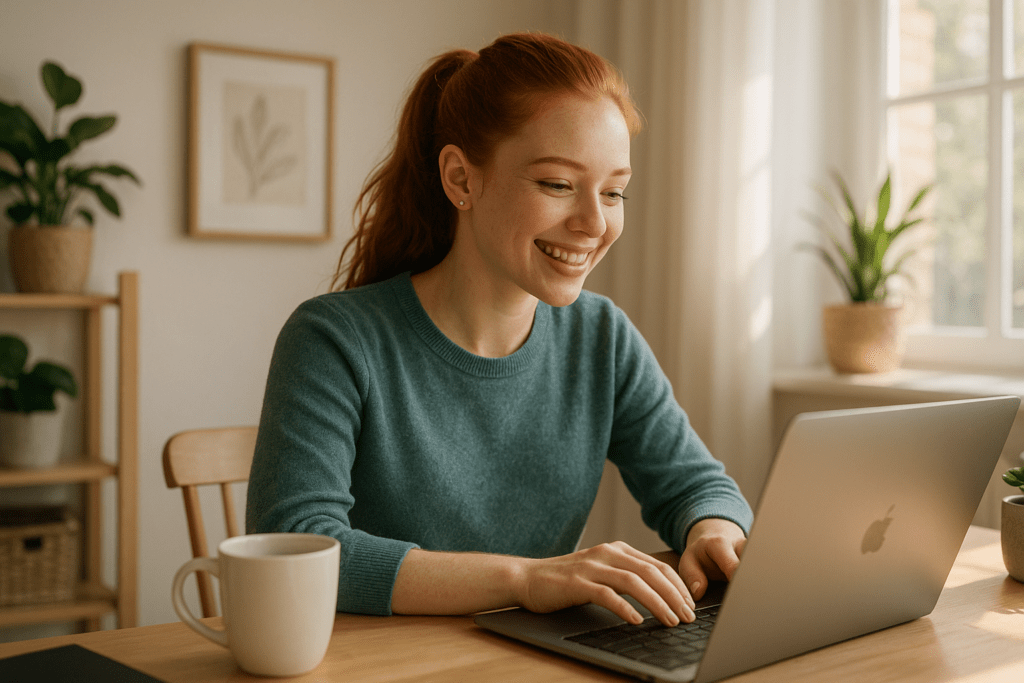
Now, this is where the magic happens, lets change the color of her sweater:
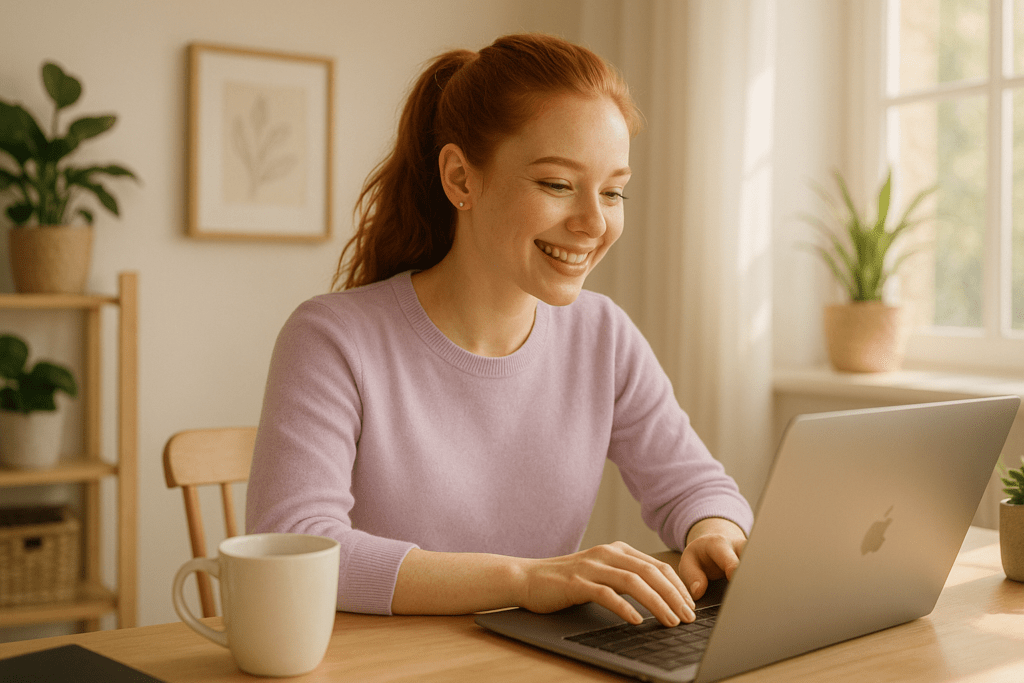
The lighting changed a little bit too, but other than that it is the same image.
You can continue to make changes about many different things, such as telling it to change it from a young female with red hair to a senior male or having the person work on their laptop on a wraparound porch outside rather than an indoor home office.
Try to make 1 or 2 changes at at time – if you ask for too many changes at once, you are less likely to get expected results.
Writing Image Prompts That Deliver What You Want
The good news is, working with ChatGPT 4o is much easier than some of the more complex image generating tools online. But you still have to know how to prompt for what you need and want.
If possible, you want to talk about what emotion the image should convey, any camera angles you may want, the lighting in the picture, the background or lack of background if you want it transparent, the color palette to be used, any specific objects you want in the image, or the style.
For example, if you need an image for a weight loss blog post try something like this: “Create an image of a woman in her 30s wearing athletic clothing and smiling as she goes on a morning walk on the sidewalk. The background shows a tree lined suburban street on a bright and sunny day with a blue sky. She’s holding a water bottle and is very confident looking.”
The more detail you can give it, the more accurate your output will be.
If you’re going to be asking for content for a specific social media platform, you might also add something about the size and shape of your image, such as a square image or, if you want something for a Facebook header, for example, you would specify the size.
And, guess what, you can add text – and it is usually accurate.
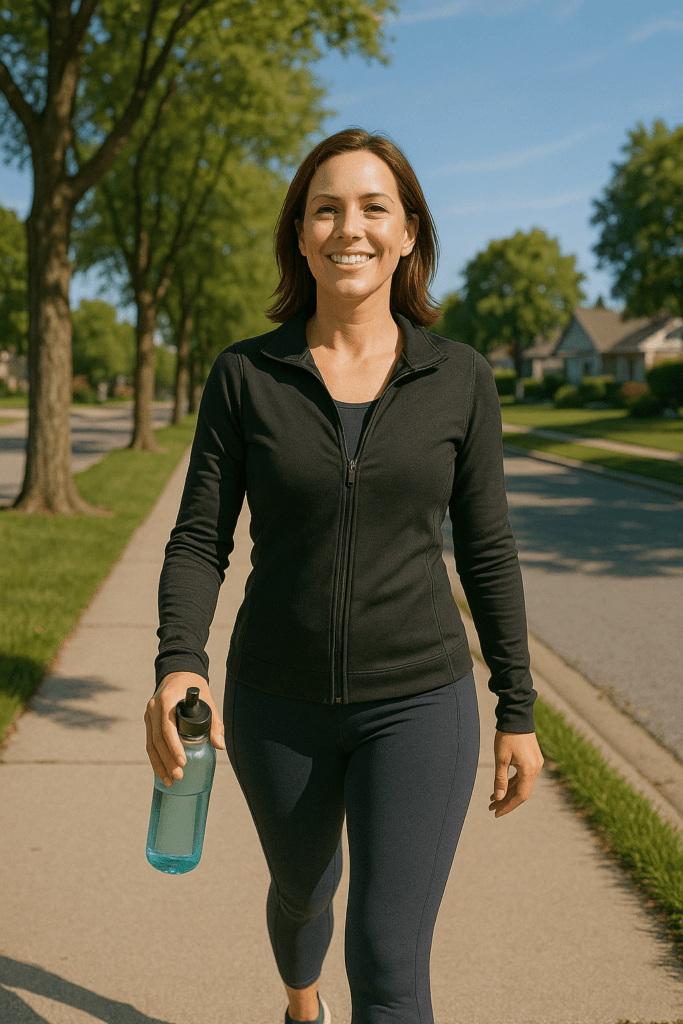
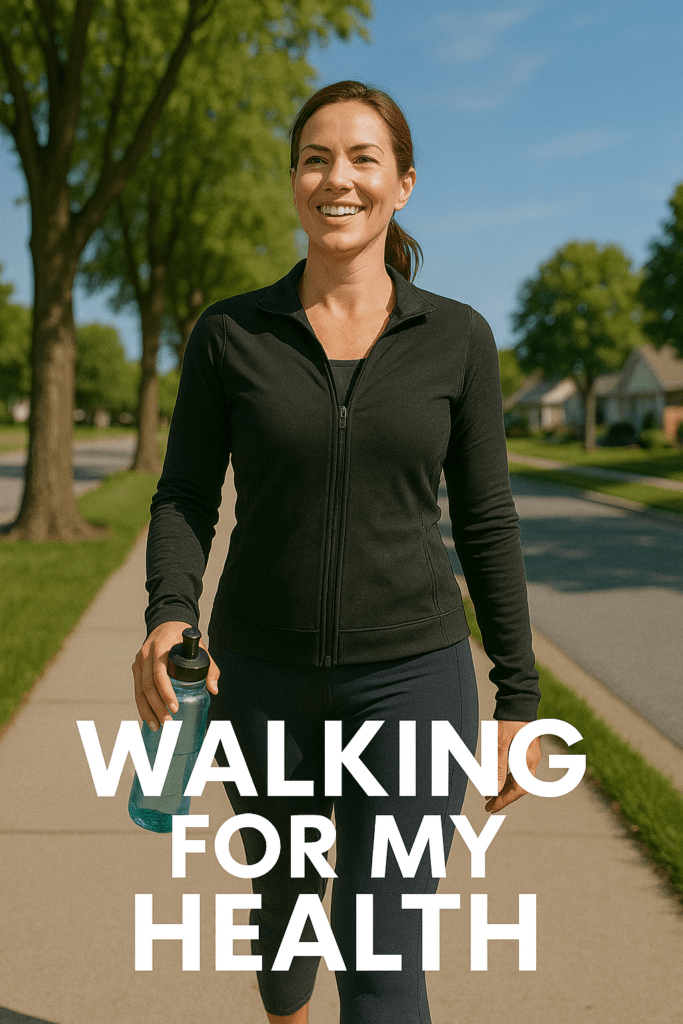
Her hair ended up in a ponytail when I added the text. I also just asked for text, and didn’t specify any styling. You can also tell it what the text should be and where it should be placed or which type of font you want.
You may want to use this feature to create an product image, then you will want to include other details such as the product you are selling, the niche you are in, and whatever emotional tone you’re trying to convey.
The image that it initially gives you is just a starting point. You can play around with it to get what you want, whether it’s a different font, layout, or graphic.
You can also have AI create infographics for you. These are very effective in social marketing as well as embedding in your blog as a way to distill information into something easy to read.
Using this prompt:
“Create a vertical infographic for Pinterest that shows five numbered time-saving meal prep tips. Use pastel colors for headers & icons for each tip. Include a title at the top that says: “Family Meal Prep Hacks” in a playful script.”
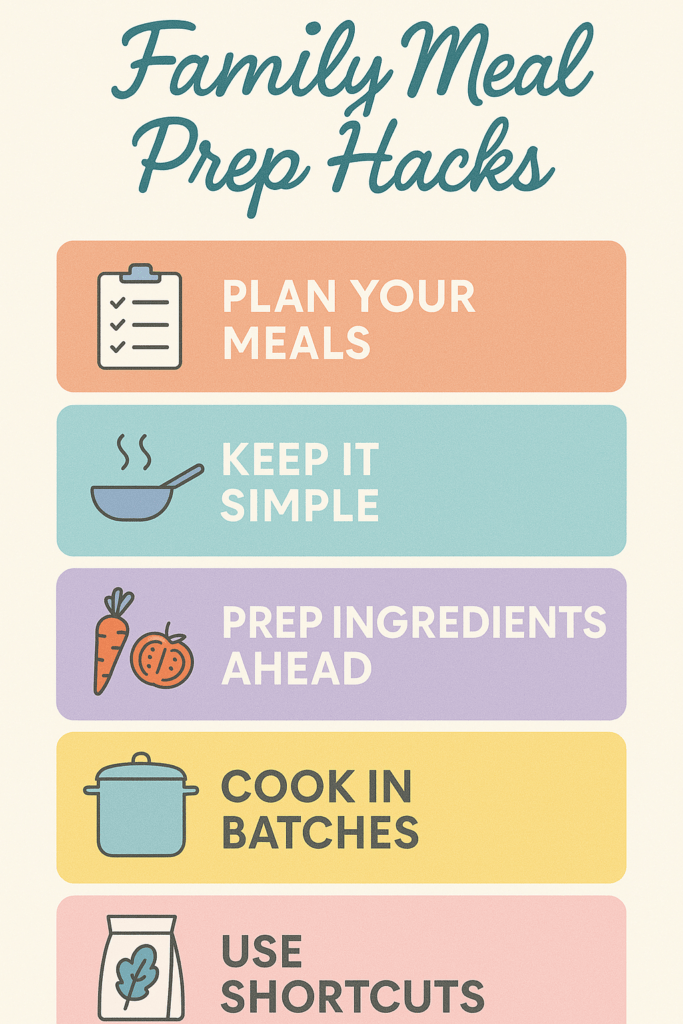
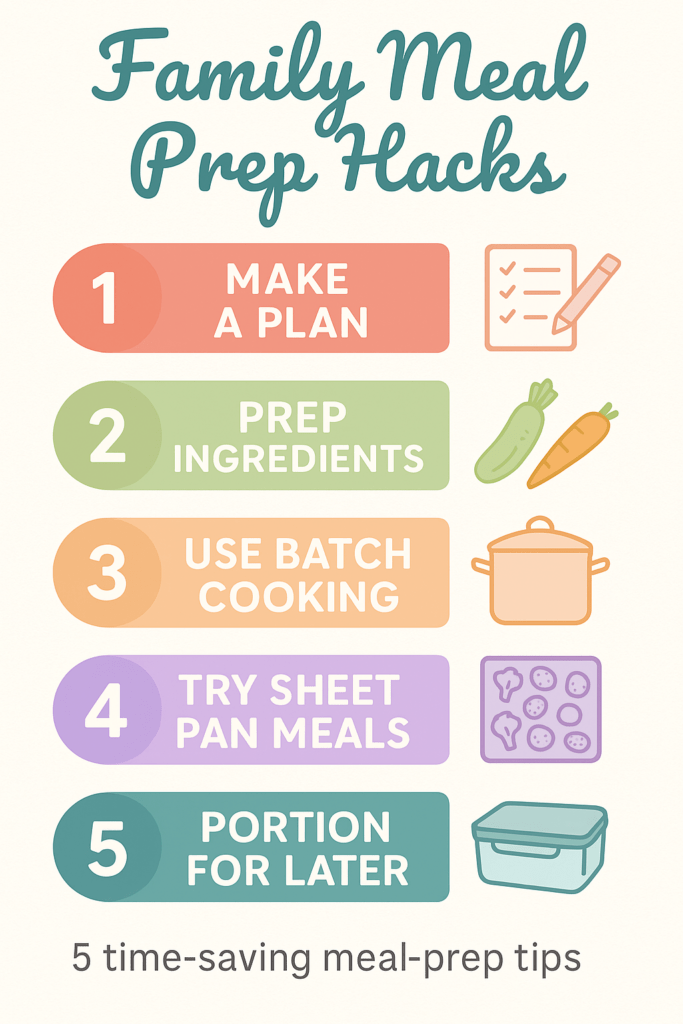
I did have to make a few attempts because it kept cutting off the final tip, until I added the word numbered and then it did great.
You will also notice that I didn’t give it the tips, since it’s ChatGPT, it can do that work for you too :). It did change the tips when I added the numbers, but the tips still meet the criteria.
For the numbered image, I would also take that into PowerPoint or Canva and add a shape over the black text at the bottom and add my branding over the top of that.
Tweaking the Image Output to Perfection – Or Not
No image generator gets it right all the time because it’s not able to read your mind (it sure would be nice if it could sometimes – lol). But with a few small tweak prompts, you can usually get what you want.
The best part about using ChatGPT is that you don’t have to repeat your prompt, you get to just continue the conversation.
Things you can ask:
- Change colors of clothing
- Change the background
- Zoom In or Out
- Correct the number of fingers or toes
- Change facial expressions
- Additional variations
- Change the output ratio
Using a Starter Image as a Prompt
Sometimes, you might find a stock image that you really like, but you need tweaks to it. You can use ChatGPT 4o to edit that stock photo and use it as a foundation to build on for your own graphics. It helps you personalize images for your own brand.
To add an image, use the + symbol and add the image from your computer, then tell it if you want any changes. You can even add your own product images to a mockup image and have ChatGPT 4o merge them together.
This feature allows you to keep a consistent style across multiple images as well.
You can also use this as a way to create full color images of your coloring pages – a great help when you are designing your cover.
Now you know have lots of ways to put the image generator to use. Don’t forget to save your prompts that get you the best results so that you can remind ChatGPT of that previous conversation.
Feel free to share what you create in the comments below.